How to Fix a Flat Bike Tire, Step by Step
Learn how to fix a flat bike tire with this beginner-friendly guide. Change your inner tube roadside or at home in under 20 minutes.
Getting a flat tire is one of the most common things that happens on a bike, and knowing how to handle it roadside turns a frustrating trip-ender into a minor detour. With the right tools in your saddlebag and a bit of practice at home, you can have the wheel back on and be rolling again in 15 to 20 minutes.
This guide walks through every step, from pulling the wheel off the bike to pumping up the new tube. First-timers should practice in the garage before relying on these skills on the road.
What You'll Need
No fancy tools required. Here's what to carry on every ride:
- Spare inner tube (match your tire's marked size, e.g. 700x28-35c or 26x1.75)
- Two or three tire levers (plastic, not metal, metal damages rims)
- Mini pump or CO2 inflator (a mini pump is more reliable for beginners)
- Patch kit (optional backup if you've already used your spare)
- Nitrile gloves (optional but your hands will thank you)
Check the tube size printed on the sidewall of your current tire before buying a spare. A tube labeled "700x28-35c" fits any 700c rim with a tire width between 28mm and 35mm. Valve type matters too, Presta valves (the thin ones with a brass lock nut) are common on road bikes; Schrader valves (like a car tire) appear on most mountain and hybrid bikes. Buy the right type, or you won't be able to inflate at a gas station or with the wrong pump head.
Before you head out on any ride, it's worth running through a quick pre-ride safety check so you catch slow leaks and worn tires before they strand you.
Step 1: Get the Bike Stable and Remove the Wheel
Flip the bike upside down so it rests on the saddle and handlebars. On the road, lean it against a fence or lay it on its non-drive side (away from the chain) if you don't want to scratch the saddle.
Rear wheel: Shift into the smallest cog before you stop if possible. It makes the wheel much easier to pull out. Then open the quick-release lever (or loosen the thru-axle, depending on your bike) and pull the derailleur cage back and down to free the wheel from the chain.
Front wheel: Just open the quick-release or thru-axle and lift the wheel out.
If your bike has rim brakes, open the brake caliper first (there's a small lever or button on the caliper body) so the tire can pass through. Disc brakes don't need this step.
Step 2: Remove the Tire and Pull Out the Tube
Let all remaining air out of the flat tube. On a Presta valve, unscrew the brass lock nut counterclockwise a few turns, then press down on the tip. On a Schrader valve, press the pin in the center with a fingernail or pen tip.
Now use your tire levers to break the bead (the edge of the tire) away from the rim:
- Push one lever under the tire bead, hook the other end over a spoke, and leave it there.
- About four inches away, push a second lever under the bead and slide it around the rim. The tire bead should pop over the rim edge.
- Once one side of the bead is fully off the rim, pull the tube out. Unscrew and remove the valve from the valve hole last.
Keep the tire itself on the rim for now, you only need one side off to access the tube.
Step 3: Find the Cause of the Puncture
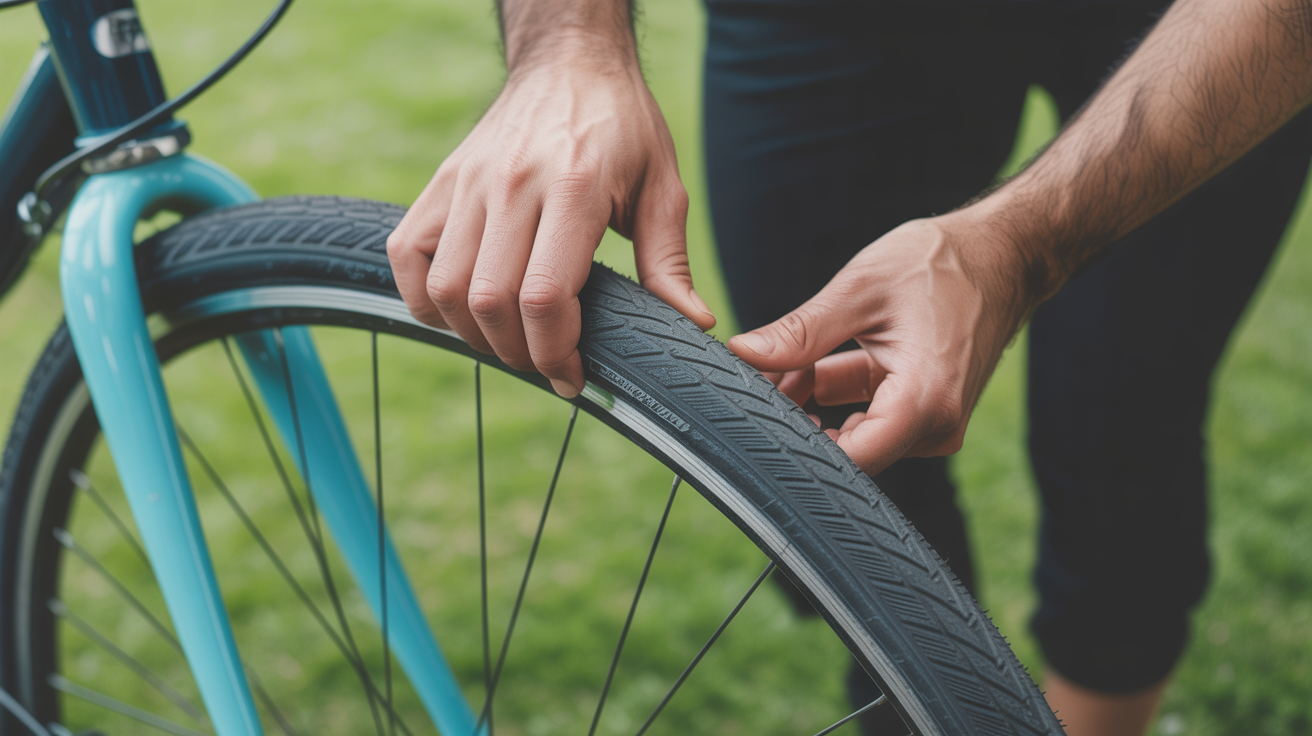
This step is easy to skip and almost always leads to a second flat. Run your fingers slowly around the inside of the tire, feeling for anything sharp poking through. Glass shards and thorns often stay embedded. Check carefully near the puncture location.
To find the puncture spot on the tube, pump a little air in, then hold sections near your cheek or listen for hissing. Mark the hole with a fingernail or pen.
Now look at the tube before throwing it away. Two small holes close together in a line (called a "snakebite" or "pinch flat") means the tube got pinched between the tire and rim, usually from hitting a curb or riding on low pressure. A single clean hole near the valve is often a manufacturing defect. A long split suggests the tube was severely underinflated or pinched hard. Understanding the failure helps you avoid repeating it.
Running the right tire pressure is one of the easiest ways to cut puncture frequency, see our guide on what tire pressure to run before your next ride.
Step 4: Install the New Tube
Take your fresh spare tube and add just a tiny puff of air, enough that it holds its shape without being firm. This makes it much easier to seat properly and prevents it from getting twisted inside the tire.
- Push the valve through the valve hole in the rim first.
- Work the rest of the tube around, tucking it inside the tire all the way around.
- Check that the tube isn't folded or twisted anywhere, run your fingers around the full circumference.
Now push the tire bead back onto the rim by hand, starting opposite the valve and working toward it. The last few inches near the valve are always the tightest. Try to get the bead on without levers at this stage; forcing the last bit with a lever risks pinching the new tube and causing an immediate flat.
If the bead won't go on by hand, double-check your technique before reaching for a lever. Grip the tire firmly, push down with your thumbs, and "roll" the bead over the rim edge. Most tires go on without levers once you get the feel.
Once both beads are seated, push the valve up into the tire a little, then pull it back down snugly. This confirms the tube isn't caught under the bead at the valve.
Step 5: Inflate and Reinstall the Wheel
Inflate the tire to a few PSI, just enough to see its shape, then squeeze around the whole tire to check the tube isn't bulging out from under the bead anywhere. If you see a bulge, let the air out and reseat that section before continuing.
Inflate to your normal riding pressure (check the sidewall for the range; most road tires say something like "80-120 PSI" and most gravel or hybrid tires say "40-65 PSI"). Your tire pressure guide explains how to pick the right number for your weight and terrain.
Reinstall the wheel:
- Front: Drop the axle into the fork dropouts and tighten the quick-release with firm pressure. The lever should take some hand force to close and end up pointing backward or up, not dangling loose.
- Rear: Guide the chain onto the smallest cog as you push the wheel up into the dropout, then secure the quick-release. Give the wheel a spin and check it runs centered between the brake pads (or centered in the frame for disc bikes).
Open your rim brake caliper back up if you closed it earlier.
Common Problems and How to Handle Them
| Problem | Likely cause | Fix |
|---|---|---|
| Immediate flat after reinstalling | Tube pinched under bead or lever nicked tube | Remove, inspect, replace tube |
| Tire won't come off rim | Bead is tight; not enough air let out | Deflate fully; use a third lever |
| Can't get bead back on | Tube too inflated or wrong-size tire | Let most air out of tube; re-seat |
| Valve keeps pulling into rim | Tube inflated too hard before seating | Deflate, re-tuck tube, re-inflate slowly |
| Flat again within a few days | Sharp object still in tire | Remove tire, inspect carefully; patch or replace |
After the Fix: A Few Habits Worth Building
Carrying one spare tube is the minimum. Two is smarter on longer rides, because you can get two flats in a single outing. After you use your spare, buy a replacement before your next ride rather than setting out with nothing.
Patch kits extend your options on longer rides. Glue-based patches are more reliable than the peel-and-stick "glueless" type, though glueless patches work fine as a temporary fix. Patching the old tube at home gives you a backup spare.
Keep your tires at the right pressure before each ride. Underinflated tires are far more prone to pinch flats, and they wear faster too. A quick squeeze or floor-pump check takes ten seconds and prevents the most common type of roadside flat.
After any wheel removal and reinstallation, roll the bike a few feet and check the brakes before you pedal off. Add that check to your pre-ride routine and it becomes second nature.
FAQ
How long does it take to fix a flat bike tire?
Most beginners take 20 to 30 minutes the first few times. With practice, 10 to 15 minutes is realistic. Doing a dry run at home, where there's no pressure, is the fastest way to build that speed.
Can I just patch the tube instead of replacing it?
Yes. Patching works well for a single clean puncture hole. Glue-based patch kits (Rema Tip Top and similar) make repairs that hold for thousands of miles if done correctly. Avoid patching a tube with multiple holes, a damaged valve, or a long split, those go in the bin.
What if I don't have a pump with me?
A CO2 inflator gets the tire to riding pressure in seconds using a small cartridge. One 16g cartridge is enough for most road and hybrid tires. The downside is that CO2 diffuses out of the tube faster than air, so you'll want to top up with a proper pump within a day or two. Carry a cartridge as backup but learn the mini pump too.
Do I need to remove the tire completely to fix a flat?
No. You only need to remove one bead (one side of the tire) to pull out the old tube and seat the new one. The tire stays on the rim the whole time, which saves a step.
My quick-release is tight but the wheel wobbles. What's wrong?
Check that the axle is fully seated in the dropout before closing the lever. On a rear wheel, make sure the chain is on a cog and the derailleur isn't pulling the wheel sideways. If the wheel still wobbles after the axle is properly seated, have a qualified bike mechanic check the wheel for a bent axle or loose spoke, don't ride until it's inspected.