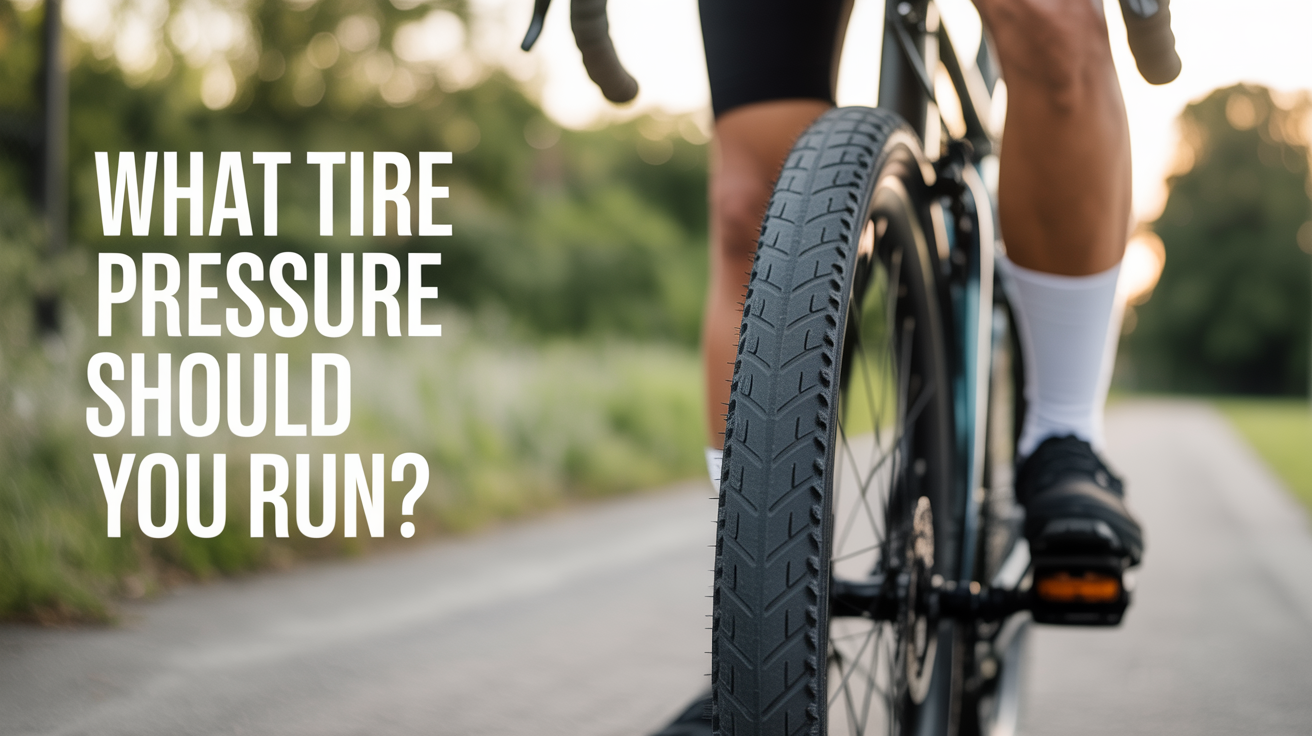
What Tire Pressure Should You Run?
Find the right bike tire pressure for your weight, tire width, and riding surface — plus how to pump up your tires correctly.
The short answer: check the sidewall of your tire for the printed pressure range, then aim for the middle of that range as a starting point. From there, you adjust based on your weight, your terrain, and how the ride feels. Getting this right takes five minutes and makes a bigger difference to your comfort and safety than almost any other adjustment you can make.
Soft tires feel sluggish and flat out dangerously at speed. Over-inflated tires bounce off every pebble and give you almost no grip on wet pavement. Neither is where you want to be, so let's work through the numbers.
Why Tire Pressure Matters More Than You Might Think
A correctly inflated tire does three things: it rolls efficiently, it grips the road, and it protects the tube from pinch flats. When pressure drops too low, the tire can fold under cornering load or pinch the tube against the rim when you hit a pothole, causing what's called a snakebite puncture (two small holes side by side). If you've dealt with a flat and wondered why there were two holes, that's usually the reason. Reviewing how to fix a flat bike tire step by step is worth your time so you understand what you're preventing.
When pressure is too high, the contact patch shrinks. Your tire becomes harder than the road surface and actually bounces over small irregularities rather than rolling through them. That costs you speed and control, which is the opposite of what most people expect from "more pressure."
Reading the Sidewall: Your Starting Point
Every tire has a pressure range printed on its sidewall, usually in both PSI (pounds per square inch) and bar. It might read something like "65–95 PSI" or "MIN 4.5 BAR / MAX 6.5 BAR." That range is the manufacturer's tested safe operating window for that tire's construction.
Start somewhere in the middle of that range. For a tire rated 65–95 PSI, 80 PSI is a sensible first ride. You can fine-tune from there.
Common pressure ranges by tire type:
| Tire Type | Typical Width | Pressure Range |
|---|---|---|
| Road racing tire | 23–25mm | 90–120 PSI |
| Road/gravel tire | 28–32mm | 60–90 PSI |
| Hybrid/commuter tire | 35–45mm | 50–70 PSI |
| Mountain bike (XC) | 2.0–2.2" | 30–50 PSI |
| Mountain bike (trail/enduro) | 2.3–2.5" | 22–35 PSI |
These are starting ranges, not fixed rules. Your weight and the road surface you're riding will push you toward one end or the other.
How Your Weight Affects the Right Number
Tire pressure works by supporting your weight against the road. A heavier rider compresses the tire more at any given pressure, so they need more air to maintain the same contact patch shape. A lighter rider running the same pressure will have a smaller contact patch and a harsher ride.
A rough rule that many riders use: for every 10 pounds (4.5 kg) above or below 150 pounds (68 kg), add or subtract about 2–3 PSI from your baseline. So a 130-pound rider might run a 25mm road tire at 95 PSI while a 180-pound rider on the same tire needs closer to 110 PSI.
This is also why printed pressure recommendations on bike packaging are almost useless. They don't know how much you weigh.
Front and Rear Tire Pressure
Your rear tire carries more of your weight (roughly 60% on most bikes), so it should run slightly higher pressure than the front, typically 5–10 PSI more. Running equal pressure front and rear is a common beginner mistake that can make the front feel unpredictable on corners.
Terrain Changes Everything
Road surface is the other big variable. Here's how to think about it:
- Smooth tarmac: Run toward the higher end of your comfort range. Less rolling resistance, more speed.
- Rough chip-seal or patchy pavement: Drop 5–10 PSI from your road setting. The tire absorbs more impact instead of bouncing off it, which is faster and more comfortable on bad surfaces.
- Gravel or dirt: Drop significantly. On a gravel ride, a 40mm tire might go from 55 PSI on the road to 38–42 PSI on packed gravel. More grip, more comfort, less chance of washing out.
- Wet roads: Drop 5 PSI from whatever you'd normally run. The slightly larger contact patch helps.
Cold weather also drops pressure. Tire pressure falls roughly 1 PSI for every 10°F (5.5°C) drop in temperature. If you inflate your tires in a warm garage and then ride in freezing conditions, they'll be noticeably softer by the time you start.
How to Pump Up Your Tires Correctly
Knowing the target pressure is half the job. Getting air in accurately requires a decent pump with a gauge.
What you need:
- A floor pump (track pump) with a built-in gauge. Handheld mini-pumps are for roadside emergencies; they're too small to reach full road pressures efficiently and their gauges are notoriously inaccurate.
- Knowledge of your valve type. Road bikes and many hybrids use Presta valves (tall, thin, with a small locknut at the top). Mountain bikes and cheaper bikes usually use Schrader valves (same as car tires, wider with a spring-loaded pin). Most floor pumps have a head that fits both, but you need to position the pump head correctly.
Step-by-step:
- Remove the dust cap from the valve and set it somewhere you won't lose it.
- If you have a Presta valve, unscrew the small brass nut at the top (just a few turns) until it moves freely. You'll feel a tiny puff of air. Don't remove it.
- Press the pump head firmly onto the valve. Flip the lever or clamp to lock it in place. A firm seal prevents air from escaping as you pump.
- Pump slowly and watch the gauge. Floor pump gauges are more accurate when you're not in mid-stroke, so pause briefly between strokes to get a true reading.
- When you reach your target, unlock the pump head and pull it straight off quickly. Some air will escape during removal; this is normal. If you lose more than a couple of PSI, check that the valve locknut (Presta) is still attached.
- Screw the Presta locknut back down finger-tight. Replace the dust cap.
Check your pressure before every ride. Tubes lose air slowly over days even without any puncture, especially through Presta valves. A tire that was perfect on Saturday might be 10–15 PSI low by the following Thursday.
Pairing this habit with the M-check pre-ride safety routine takes under three minutes total and catches most problems before they become roadside problems.
Signs Your Pressure Is Wrong
You often don't need a gauge to know something's off. Here's what to notice:
Too low:
- The tire visibly bulges at the contact point when you look from the side
- The bike feels sluggish and hard to accelerate
- Steering feels vague, especially at higher speeds
- You hear a dull thump on bumps rather than a crisp roll
Too high:
- The ride feels harsh and jarring, like you feel every crack in the pavement through your hands
- The bike feels nervous or twitchy on corners
- You're bouncing over rough sections rather than rolling through them
Once you've ridden on correct pressure a few times, you'll develop a feel for it. Squeezing the tire by hand gives you a reference, though this only works reliably for very low pressure detection. For anything in the 50+ PSI range, always use a gauge.
If you're getting recurring flats and suspect pressure is a factor, pairing correct inflation with a clean chain keeps the whole drivetrain system running well. Cleaning and lubricating your chain is another five-minute maintenance task that dramatically extends the life of your components.
FAQ
How often should I check my bike tire pressure?
Before every ride, ideally. Tubes lose air gradually even without a puncture. Road bike tires at high pressure (90+ PSI) can drop 10–15 PSI overnight. Mountain bike tires at lower pressures are more stable but still worth checking weekly. It takes about 20 seconds with a floor pump that has a gauge.
Can I use my car's air compressor to inflate bike tires?
For Schrader valves, yes. Keep a close eye on the pressure gauge and stop well before your maximum, because car compressors fill volume fast and it's easy to over-inflate. For Presta valves, you'd need a Schrader-to-Presta adapter. A dedicated floor pump with a proper gauge is safer and more accurate for bike tires.
My tire says MAX 120 PSI. Should I inflate to 120?
No. The max rating is the structural limit of the tire casing, not the recommended riding pressure. Running at or near maximum makes the ride very harsh and actually reduces grip. For most riders, 10–20 PSI below the maximum is a better riding pressure. Use your weight and the surfaces you ride to find the sweet spot.
Does it matter if I'm using tubeless tires?
Yes, significantly. Tubeless tires can run much lower pressures than tubed setups because there's no inner tube to pinch flat. A tubeless road tire that you might run at 85 PSI with a tube can comfortably drop to 60–70 PSI tubeless. Mountain bike tubeless setups often run 25–35 PSI or even lower. Check your specific tire's tubeless pressure recommendation, which may be printed separately or available from the manufacturer.
What if I don't have a floor pump with a gauge?
Pick one up. A basic floor pump with a gauge costs around $30–$40 and is the single most useful bike maintenance tool you can own. Without a gauge, you're guessing at something that directly affects your safety and ride quality. Mini-pumps are fine to carry on rides for emergencies, but they're not accurate enough to set pressure at home.