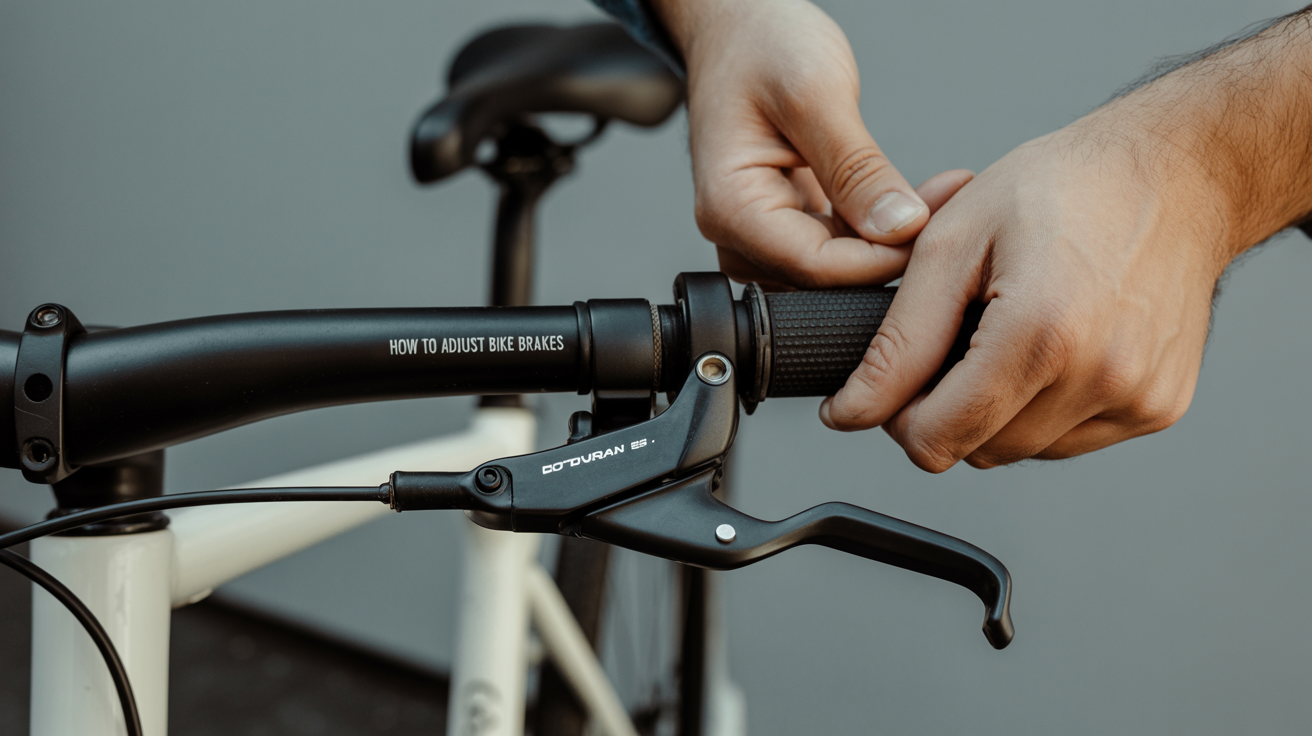
How to Adjust Your Bike Brakes at Home
Learn how to adjust bike brakes at home with this beginner guide covering rim brakes, cable tension, pad alignment, and when to call a mechanic.
Brakes that feel spongy, squeal on every stop, or need a full lever pull before biting are telling you something is off. The good news is that rim brake adjustments are among the most approachable maintenance tasks a beginner can tackle. This guide walks through the most common fixes step by step, with clear stopping points where a shop visit makes more sense than continuing on your own.
Safety note: Brakes are safety-critical. If at any point you are unsure whether the work you have done is correct, or if your bike uses hydraulic disc brakes (the kind with a fluid reservoir near the lever), take it to a qualified mechanic before riding.
What You Need Before You Start
Keep the tool list short. For most rim brake adjustments you need:
- A 5 mm hex key (Allen key)
- A small Phillips or flathead screwdriver
- Needle-nose pliers or a fourth-hand cable tool (optional but helpful)
- A clean rag
That covers the vast majority of rim brakes found on entry-level road, hybrid, and flat-bar bikes. Disc brakes require additional knowledge and, in the case of hydraulics, specialist fluid and bleed kits. Stick to rim brakes for your first DIY session.
Understanding How Rim Brakes Work
Rim brakes grip the flat sidewall of your wheel rim when you pull the lever. A cable runs from the lever, through a housing, to the brake caliper. When you squeeze, the cable pulls the caliper arms together and presses the brake pads against the rim.
Three variables control how well this system works:
- Cable tension controls how far you pull the lever before the pads make contact.
- Pad position determines whether the pad hits the rim squarely or rubs the tire or falls below the rim edge.
- Caliper centering keeps both pads the same distance from the rim so neither drags.
Most brake problems trace back to one of these three. Fix them in order and you will resolve most issues in under 20 minutes.
How to Tighten Bike Brakes: Adjusting Cable Tension
If your lever pulls almost to the handlebar before the brakes bite, the cable has too much slack.
Use the barrel adjuster first
The barrel adjuster is the small threaded cylinder where the cable housing enters the lever or the caliper. Turn it counterclockwise (away from the bike) to take up slack. Do it in half-turn increments, squeezing the lever between each adjustment.
Aim for the lever to engage firmly at about one-third of its travel from the bar. If the barrel adjuster is already turned out as far as it goes (threads showing), you need to tighten the cable at the caliper.
Tighten the cable at the caliper
- Open the barrel adjuster a few turns to give yourself slack to work with later.
- Loosen the cable anchor bolt on the caliper with a 5 mm hex key.
- Pull the cable taut by hand or with needle-nose pliers.
- Retighten the anchor bolt firmly.
- Fine-tune from there using the barrel adjuster.
After adjustment, test the brakes before riding by pushing the bike forward at a walk and applying each lever independently. The wheel should stop cleanly without the lever bottoming out.
Rim Brake Adjustment: Aligning the Brake Pads
Squealing and uneven wear usually come from pads that are not hitting the rim correctly. Fixing this is called pad alignment or "toeing in."
Check pad position
Spin the wheel slowly and watch each pad. The pad should:
- Contact the flat rim sidewall only (not the tire)
- Sit fully on the rim with a few millimetres of clearance below the tire bead
- Strike the rim with the pad face flat against the surface
Adjust pad height and angle
Loosen the pad fixing bolt just enough to move the pad by hand. Most pads are held with a bolt that allows both height and angle adjustment. Position the pad so it sits in the middle of the rim sidewall, then snug the bolt finger-tight.
Toe-in trick: For quieter braking, angle the front edge of each pad so it contacts the rim a fraction of a second before the rear edge. Slide a thin piece of card under the rear of the pad while you tighten the bolt, then remove it. This slight angle almost always eliminates squealing.
Once positioned, retighten the bolt fully and spin the wheel to confirm the pad does not rub at any point.
How to Fix Squeaky Bike Brakes
Squealing has a handful of causes:
| Cause | Fix |
|---|---|
| Glazed pad surface | Lightly scuff the pad face with sandpaper |
| Oil or grease on rim | Clean the rim wall with isopropyl alcohol |
| Pad angled incorrectly | Toe in the pads as described above |
| Worn pads | Replace if the wear indicator groove is gone |
| Loose caliper bolt | Retighten the caliper mounting bolt |
Never apply lubricant to brake pads or rim sidewalls. It causes braking failure and is very difficult to remove completely. If you find grease contamination on a rim, clean it thoroughly with isopropyl alcohol and a fresh rag, then test stopping performance in a safe area before riding in traffic.
Centering the Caliper
If one pad rubs the rim while the other has a wide gap, the caliper is off-center. This is common after a wheel removal.
Find the centering adjustment
Most calipers have a small screw on the side of one arm (often labeled or marked with a spring symbol). Turning it adjusts the spring tension on that arm, pushing the caliper toward or away from the rim.
- Look at the gap between each pad and the rim from the front.
- If the right pad rubs, turn the adjustment screw on the right arm clockwise to push it away.
- Make small adjustments and check the gap after each turn.
Some older calipers center by loosening the mounting bolt slightly, repositioning the caliper by hand while squeezing the pads against the rim, then retightening. If your caliper does not have a centering screw, this is the method to use.
When to Stop and See a Mechanic
DIY rim brake work covers a lot of ground, but some situations call for professional hands:
- Hydraulic disc brakes: bleeding, pad replacement, and rotor alignment are best left to a shop until you have specific training
- Cables that show fraying, kinking, or corrosion inside the housing
- Brake pads worn past the wear indicator
- A caliper that will not stay centered after adjustment
- Any situation where you test the brakes and feel uncertain about the result
Keeping your bike chain clean and lubricated and your tire pressure in the right range are the maintenance tasks that companion brake care well. And if you need a refresher on handling a roadside repair, the guide on fixing a flat tire step by step covers that in the same plain-language format.
Frequently Asked Questions
How do I know if my brake pads need replacing rather than adjusting? Most pads have a wear indicator groove molded into the face. When that groove disappears, the pad is at or near the end of its life and should be replaced rather than adjusted further. Riding on worn pads reduces stopping power and can score the rim.
Why do my brakes squeak even after I adjusted the pads? If toeing in the pads and cleaning the rim wall did not stop the squeal, inspect the pads for glazing (a shiny, hardened surface). A light pass with medium-grit sandpaper on the pad face removes the glaze. Persistent squealing after that usually points to contaminated pads that need replacement.
How much lever travel is normal? A properly adjusted brake should engage firmly when the lever is roughly one-third of the way to the bar. If you need to pull further than halfway before the bike slows, tighten the cable tension. If the lever engages so close to the bar that you cannot get a full grip, the cable is too tight.
Can I adjust disc brakes at home the same way? Mechanical disc brakes (cable-actuated) can be adjusted at home using similar cable tension principles, though pad clearance is much tighter and the adjustment points differ. Hydraulic disc brakes should not be DIY'd by beginners. When in doubt, a local bike shop can inspect and adjust disc brakes quickly and affordably.
How often should I check my brakes? A quick squeeze test before every ride takes seconds and will catch most problems early. A more thorough pad and cable inspection every few months, or any time braking feels different from usual, keeps the system reliable.