How to Brake Safely on a Bike
Learn how to brake on a bike with confidence — front vs rear brake, emergency stops, and technique tips for beginners.
Braking is the single most important skill on a bike, and it's one most beginners never get properly taught. The short version: use both brakes together, favor the rear slightly in everyday riding, and squeeze, don't grab. Everything else is just understanding why.
Once that clicks, you'll stop shorter, feel less wobbly on descents, and ride with a lot more confidence around traffic. Here's how to make it happen.
Understanding Your Brakes Before You Ride
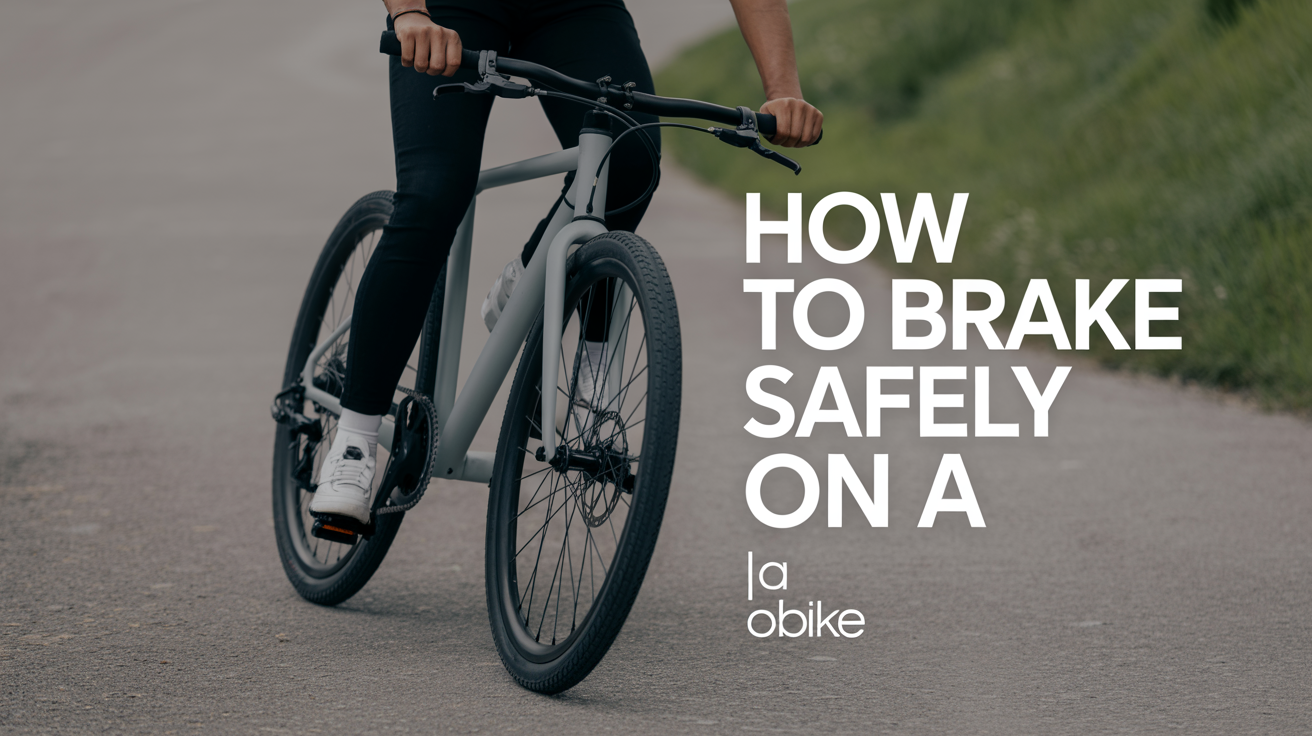
Most bikes have two independent brakes, one for each hand. Before you practice stopping, you need to know which lever does what.
On bikes sold in the US and most of Europe, the left lever controls the front brake and the right lever controls the rear brake. Some older bikes or certain imports reverse this, so always verify by squeezing each lever slowly while standing still and watching which wheel the brake pad contacts.
Road bikes and mountain bikes use either rim brakes (pads pinch the wheel rim) or disc brakes (a rotor near the hub). The technique for braking is the same regardless of type, but disc brakes generally offer more stopping power and work better in wet conditions.
Check Your Brakes Before Every Ride
Squeeze each lever hard before you set off. The lever should feel firm and shouldn't travel more than about halfway to the handlebar. If a lever feels spongy or pulls all the way to the grip, have the brake adjusted before riding, this is a safety-critical job best done by a bike mechanic if you're not sure how.
Also spin each wheel and listen for any rubbing. A brake pad dragging against a rim or rotor creates drag and can heat up on long descents.
Front vs Rear Brake: What Each One Does
This is probably the most misunderstood part of cycling for beginners. Many new riders are scared of the front brake, having heard stories about going over the handlebars. The reality is more nuanced.
The front brake provides about 70% of your stopping power. When you brake, your weight shifts forward, loading the front wheel and giving it better grip on the road. This means the front brake can work harder without the wheel skidding.
The rear brake provides the remaining 30%. It's easier to modulate and harder to misuse, which makes it feel safer. But relying on it alone means much longer stopping distances.
The right approach for everyday riding: use both brakes together, applying slightly more pressure to the rear. As you get comfortable, you'll naturally start leaning on the front a bit more, which shortens your stops considerably.
Where things go wrong is when riders grab the front brake suddenly with a lot of force, especially on loose surfaces or while cornering. On a dry, grippy road, a well-executed emergency stop with mostly front brake is both safe and fast. On gravel or wet pavement, that same grab can flip you. Context matters.
A good rule to build with: never use the front brake alone in turns or on slippery ground. Save front-brake-dominant stops for straight, dry pavement where you need maximum stopping power.
Basic Braking Technique for Everyday Stops
For routine stops, traffic lights, crosswalks, slowing for a corner, use this approach:
- Sit upright slightly. Pushing your weight back just a little before braking keeps you stable and helps both wheels maintain contact.
- Squeeze both levers progressively. Start gentle and increase pressure smoothly. Think of it like squeezing a lemon rather than flicking a switch.
- Apply slightly more rear than front until you're comfortable with the feel of both.
- Anticipate the stop. Look ahead. The more warning you give yourself, the smoother and shorter the stop.
- Unclip or put a foot down before you come to a complete stop if you're using clipless pedals, beginners often forget this and topple sideways at zero mph.
For a 30 mph (48 km/h) road bike, a skilled rider can stop in roughly 30–40 feet with both brakes used well. An untrained rider grabbing only the rear brake might need 80+ feet. That difference matters at intersections.
As you get more confident with shifting gears smoothly, you'll find that setting up your braking early also gives you time to drop into the right gear for accelerating away again.
How to Stop a Bike Quickly: Emergency Braking
Emergency braking is a specific skill worth practicing in a safe, traffic-free area. Here's the technique:
- Shift your weight back. Slide your backside toward or off the rear of the saddle and lower your body slightly.
- Apply both brakes firmly and quickly, but not instantly at full force. There's a fraction of a second of weight transfer before the front wheel has full grip, that brief ramp-up prevents the front from washing out.
- Straighten the bike first. If you're in a turn when an obstacle appears, try to get the bike upright before applying heavy braking. Braking in a lean reduces available grip significantly.
- Eyes up. Look where you want to go, not at what you're trying to avoid.
- Hold it. Don't pump the brakes unless your wheel starts to skid (no ABS on most bikes). Consistent pressure stops you faster than pulsing.
If a wheel does start to skid, ease off that lever slightly until the wheel spins again, then reapply. A skidding wheel has less control than a rolling one.
Practice this sequence at low speed first, 10 mph, then 15, then faster. You'll quickly learn how much force you can apply before things get squirrelly on your particular surface.
Braking on Descents
Long downhills are where brake technique really matters. Two things beginners commonly get wrong:
Dragging one brake the whole way down. This heats up the rim or rotor, reduces stopping power over time (brake fade), and on rim brakes can even cause a tire blowout from heat. Instead, use a "feathering" technique: apply both brakes to a speed you're comfortable with, release them for a few seconds to cool, then apply again. You're controlling speed in intervals rather than fighting gravity constantly.
Braking too hard in corners. A steep switchback is not the place to discover your front brake. Before each corner on a descent, do your braking on the straight approach, then release the brakes (or keep only light rear brake pressure) through the turn itself. This is called "braking before the corner, not in it." You'll find this also pairs well with proper cornering technique, read more in the guide to cornering with confidence.
On long mountain descents, take a rest stop every few miles if your hands are cramping. The constant grip required to feather brakes is fatiguing and can cause you to lose fine control.
Braking in Wet or Loose Conditions
Water reduces braking performance significantly, especially on rim brakes, where it takes a full wheel revolution or two before the pads scrub the water off the rim and begin gripping properly. Disc brakes recover faster but still need more distance than dry conditions.
Adjustments for wet riding:
- Start braking earlier than you think you need to.
- Use lighter pressure and a longer squeeze rather than a short, hard grab.
- Avoid white road markings, drain covers, and painted crosswalks, they're extremely slippery when wet.
- On gravel or dirt, rear-brake-dominant braking helps prevent the front wheel from washing out.
- Leave at least 50% more following distance behind other riders or vehicles.
On a dry summer road, a confident cyclist might brake from 20 mph to zero in 20 feet. On wet pavement, plan for 35–40 feet minimum with good technique. Build that expectation in before you need it.
A Quick Reference: Braking Situations at a Glance
| Situation | Front brake | Rear brake | Key tip |
|---|---|---|---|
| Normal stop, dry road | Moderate-high | Moderate | Use both, squeeze smoothly |
| Emergency stop, straight | High | High | Shift weight back first |
| Cornering | None or very light | Light | Brake before the turn |
| Wet pavement | Light-moderate | Moderate | Start earlier, scrub more gently |
| Long descent | Feather both | Feather both | Release periodically to cool |
| Gravel / loose surface | Light | Moderate | Rear-dominant to prevent washout |
Good braking pairs naturally with good climbing technique too. You'll often need to manage speed carefully on the descent before a hill to carry the right pace into the climb. The guide to climbing hills without burning out covers the other side of that equation.
FAQ
Why do I feel like I'm going to go over the handlebars when I brake hard?
That sensation is weight transferring forward as you decelerate, totally normal physics. Your center of gravity shifts toward the front wheel. Shifting your weight back on the saddle before braking counteracts this, and the feeling becomes much less dramatic with practice. Only very sudden, very hard front brake application on a lightweight road bike at speed actually risks a flip, and that usually requires a wet or slippery surface too.
Should I use the front or rear brake first?
Apply them at the same time, not sequentially. Think of it as one fluid motion with both hands together. If you feel a wheel starting to lock, ease off that lever slightly. Over time you'll naturally modulate each lever independently without thinking about it.
My brakes squeal. Is that a problem?
Light squealing on rim brakes is often just contamination (water, oil, or road grime on the rim surface) and may clear on its own. Persistent squealing or grinding usually means worn brake pads or misaligned calipers. Brake pads are cheap, on most bikes, a set runs $10–25, and worn pads reduce stopping power sharply. Check pad thickness: most pads have a wear indicator line, and if the grooves or line are gone, replace them.
How do I stop on a hill without rolling backward?
On an uphill stop, apply both brakes and hold them before you unclip. Put your dominant foot down first. If you need to set off again on the slope, keep one brake lightly applied while you clip in and find your first pedal stroke. Some riders find it easier to lean against a wall or kerb for short hill stops. With practice, hill starts become automatic.
Can I use just one brake in an emergency?
Technically yes, but it's not ideal. Rear brake only: the wheel locks and you skid, stopping distance roughly doubles. Front brake only: on dry pavement you stop well, but any imperfection in the surface or lean in the bike can lead to a front wheel washout. Using both brakes gives you the most stopping force with the most stability. Practice emergencies with both brakes and you'll always reach for both instinctively when it counts.