How to Set Your Saddle Height the Right Way
Learn how to set saddle height correctly to ride comfortably and avoid knee pain. Two reliable methods, step-by-step.
Getting your saddle height right is one of the most impactful things you can do as a new cyclist. A seat that's even slightly too low or too high will make pedaling feel harder than it should, and over time it can lead to real knee discomfort. Here's how to dial it in, at home, without any fancy tools.
Why Saddle Height Matters More Than Most Beginners Expect
A lot of riders set their seat height based on gut feel: "I want to be able to put my feet flat on the ground." That's understandable, especially if you're nervous about stopping. But when your saddle is that low, your knees bend past 90 degrees at the top of each pedal stroke. After 20 minutes your quads start to ache. After a few rides, you might notice dull pain behind or below your kneecap.
The opposite problem, a saddle that's too high, causes your hips to rock side to side as you pedal. That puts strain on your IT band and lower back, and it makes the bike feel twitchy.
The goal is a leg that's almost fully extended at the bottom of the pedal stroke, with a small, controlled bend still in the knee. You should never fully lock out your leg, but you also shouldn't be cramped.
Before you start adjusting, if you're still figuring out which bike you own or are shopping for one, read about the different bike types available to beginners. The saddle height range and adjustment mechanism varies a little between road bikes, hybrids, and mountain bikes, though the core method is the same.
The Two Reliable Methods
Method 1: The Heel Trick (Quick and Surprisingly Accurate)
This is the fastest way to get close, and for most recreational riders it's good enough.
- Put on the shoes you actually ride in. Shoe thickness matters.
- Sit on the bike. Have a wall or doorframe nearby to lean against so you don't have to balance.
- Put your heel on the pedal and push the pedal to the very bottom of the stroke, so the crank arm points straight down toward the floor.
- Your leg should be completely straight at this position, no bend at all.
- Now clip in or move your foot to your normal pedaling position (ball of foot over the pedal axle). With that small shift, you'll have just the right amount of bend remaining.
If your heel can't reach the pedal, the saddle is too high. If your leg is bent even with your heel on the pedal, it's too low. Adjust the seat post in small increments, roughly 5mm at a time, and recheck.
Method 2: The Inseam Formula (More Precise)
If you want a number to aim for, measure your inseam and multiply by 0.883. The result is the distance from the center of the bottom bracket (the axle that the crank arms attach to) to the top of the saddle, measured along the seat tube.
To measure your inseam: stand in socks on a hard floor, feet about 15cm apart. Place a book spine-up firmly between your legs as if it were a saddle, and measure from the floor to the top of the book spine.
Example: 80cm inseam × 0.883 = 70.6cm saddle height.
This formula was developed by sports scientists looking at pedaling efficiency, and it holds up well for most adult riders. It's especially useful if you're setting up a new bike and want a solid starting point before you even ride it.
How to Actually Move the Seat
Most bikes adjust with one of two systems:
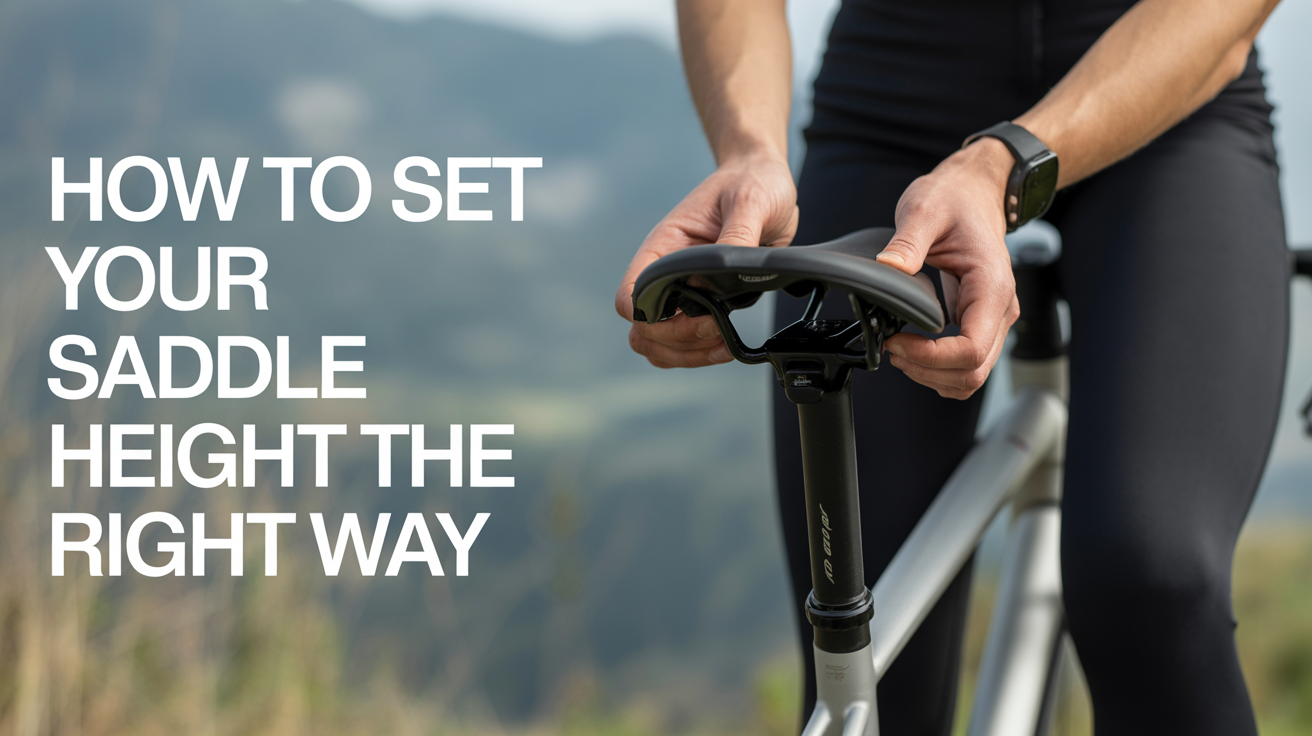
- Quick-release lever: A cam lever clamps the seat post. Flip it open, slide the post up or down, then clamp it back shut. Check that the saddle doesn't twist or drop when you push down on it.
- Bolt clamp: A hex bolt (usually 4mm or 5mm) that you tighten with an Allen key. Turn counterclockwise to loosen, reposition the post, then snug it back up. Don't overtighten; most seat post clamps need only about 5 Nm, which is firm but not grunt-level effort.
Look for the minimum-insertion line on your seat post. This is usually a line or text engraved into the post that says something like "minimum insertion" or "max height." Never raise the saddle above this mark. If you need to go higher than the line allows and you're an adult, you may need a longer seat post, which is a cheap fix.
Testing and Fine-Tuning on the Road
After adjusting, ride at a comfortable pace on flat ground for a few minutes and pay attention to a few things:
| What you notice | Likely cause | Fix |
|---|---|---|
| Hips rocking left and right | Saddle too high | Lower by 5mm |
| Knees aching at the front | Saddle too low | Raise by 5mm |
| Pain at the back of the knee | Saddle too high | Lower by 5mm |
| Comfortable, smooth stroke | Height is good | Leave it alone |
Front-of-knee pain (patellar tendon area) almost always means the saddle is too low. Pain behind the knee tends to mean it's too high. These patterns aren't universal, but they're reliable enough to guide your adjustments.
If you're experiencing persistent knee pain that doesn't resolve after a few small tweaks, get off the bike and rest for a day or two before riding again. Riding through genuine knee pain doesn't toughen anything up; it just prolongs the problem.
For more on choosing a bike that fits your body in the first place, this simple fit guide covers frame sizing and helps you understand how saddle height relates to the overall geometry of the bike.
A Few Things That Affect Your Ideal Height
Saddle height isn't a single universal number. A few variables shift the target:
Your pedaling style. Some riders naturally point their toes down slightly through the pedal stroke. Others keep their foot fairly flat. Toe-down riders often need the saddle slightly lower; heel-droppers sometimes need it slightly higher.
Cleat position on clipless shoes. If you ride clipless pedals, the position of your cleat on the shoe sole changes the effective leg length. If you switch from flat pedals to clipless, you'll likely need to raise the saddle a few millimeters.
Saddle tilt. A saddle that tilts nose-down can make you slide forward on the seat, which effectively shortens the distance from hip to pedal. If your height feels right but you're always scooting forward, check whether your saddle is level.
Age and flexibility. Riders with tighter hamstrings sometimes feel more comfortable with the saddle just slightly lower than the formula suggests. There's no shame in that; a comfortable rider goes further than an uncomfortable one.
Staying Safe While You Dial It In
While you're experimenting with seat height, be aware that a very high saddle can make it harder to get your foot down quickly at a stop. Adjust incrementally, one small change at a time. Always test in a low-traffic area or a parking lot before heading out on a busier route.
And if you need to loosen your saddle clamp in any way that feels like it might affect how the bike handles, walk the bike home and tighten everything up properly before riding again. A saddle that drops mid-ride, especially on a descent, is a real hazard.
If you're just getting started and still figuring out which bike suits your riding plans, our guide to choosing your first bike has a section on test-riding and fit that pairs well with what you've read here.
FAQ
How do I know if my saddle is too low?
The most common sign is aching quads or front-of-knee pain during or after a ride. You might also notice your pedaling feels choppy rather than smooth, or that you're pushing down more than you're spinning. Try the heel trick: sit on the bike and put your heel on the pedal at its lowest point. If your leg is still bent, the saddle needs to go up.
Can a wrong saddle height cause knee pain?
Yes, and it's one of the most common causes of cycling knee pain in beginners. Too low tends to cause pain at the front of the knee (patellar tendon). Too high often causes pain at the back of the knee or along the outer thigh. Adjusting saddle height in 5mm steps usually resolves it within a few rides, as long as you haven't been riding through significant pain for weeks already.
Should I be able to touch the ground when sitting on my bike?
Not with your full foot flat. At the correct saddle height, you'll typically be able to touch the ground with just the ball of your foot, or in some cases your tippy-toes on one side. To stop safely, you lean the bike slightly to one side rather than dropping the saddle down. This feels awkward at first but becomes second nature quickly. Many experienced riders can't get a flat foot down at all when seated.
Does saddle height matter on a mountain bike?
Yes, though mountain biking adds a wrinkle: you often lower the saddle for descents so you can shift your weight behind the seat. Many mountain bikes now come with dropper posts, which let you raise or lower the saddle with a lever while riding. For climbing and flat sections, you still want to ride at your full efficient height. The principles for finding that height are exactly the same as on a road or hybrid bike.
How often should I re-check my saddle height?
Check it every few months, or any time you change your shoes, pedals, or cleats. If you share a bike with someone else, get in the habit of checking before each ride. New cyclists sometimes find their ideal height shifts slightly over the first season as their flexibility and pedaling technique improve; don't assume the first setting you land on is final.